Why Your Face Swap Looks Fake — And How to Fix It
Every tool built on InsightFace's inswapper_128 model — FaceFusion, Rope, Reactor, VisoMaster — shares the same 128×128 pixel bottleneck. This guide explains exactly why your results look plastic, and walks you through the settings, models, and workflows that produce photorealistic output.

Step 1 — Identify Your Problem
Quick Diagnosis: What's Wrong With Your Face Swap?
Face swap quality issues fall into two opposite camps. Pick the symptom that matches your output to jump straight to the fix.
- No pores / micro-texture
- Waxy, sticker-like skin
- Flat lighting on face
- Visible upscale blur
Raw 128px output upscaled without face enhancer
- Hyper-sharp, synthetic pores
- CGI / "Instagram filter" skin
- Unnaturally crisp eyes
- Uncanny valley effect
Face enhancer at 100% blend — AI hallucinated all texture
What does your face swap look like?
The Science
The 128×128 Bottleneck — Why Every Face Swap Tool Shares the Same Problem
Understanding the root cause helps you make informed decisions about your pipeline. Here's what's actually happening inside the model.
Every popular open-source face swap tool — FaceFusion, Rope, Reactor, VisoMaster — uses the same engine under the hood: InsightFace's inswapper_128.onnx model. The '128' in the name isn't just a version number. It's the resolution the model was trained on.
Face Swap Pipeline — Resolution at Each Stage
1920 × 1080 → 128 × 128 → 1920 × 1080 — Your face loses 99.6% of its pixel data at the swap stage, then gets stretched back. This is why every inswapper result needs a face enhancer.
How the Pipeline Works
Face Detection
A face detector (RetinaFace, YOLO, or ScrFD) finds faces in your target image/video and crops them out.
Downscale to 128×128
The cropped face is resized to exactly 128×128 pixels — regardless of your source image resolution. A 4K photo becomes 128 pixels wide.
Identity Transfer
The ArcFace encoder creates a 512-dimensional embedding of your source face. The ONNX decoder reconstructs a face that matches the target pose/expression but carries the source identity — all at 128×128.
Upscale & Paste
The tiny 128px face gets upscaled back to match the original crop size and blended onto the frame. This is where quality falls apart — you're stretching roughly 16,000 pixels to fill hundreds of thousands.
InsightFace's Own Benchmark Data
InsightFace published internal benchmarks comparing their open-source 128px model against the commercial 512px variant locked inside Picsi.ai. The numbers speak for themselves:
| Model | Resolution | Realism ↑ | ID Score ↑ | Access |
|---|---|---|---|---|
| inswapper_128 | 128×128 | 63.3 | 52.8 | Open-source (free) |
| inswapper_512_live | 512×512 | 73.7 – 90.2 | 78.4 | Commercial only (Picsi.ai) |
Realism scored by FID (Fréchet Inception Distance) — lower distance = more realistic. Scores normalized to 0–100 scale where 100 is indistinguishable from real. Source: InsightFace internal evaluation.
Realism Score Comparison (0–100)
The commercial 512px model scores 42% higher in realism — but it's locked behind Picsi.ai. The open-source community is bridging this gap with 256px models.
The Next Generation Is Here
The open-source community hasn't stood still. ReSwapper (256px, MIT license) and FaceFusion's own HyperSwap models (256px, default in 3.x) are closing the gap. While they can't match the commercial 512px model, they represent a significant leap from the original 128px baseline.
The Core Insight
Two Roads to Plastic Skin
Here's the insight that most tutorials miss: plastic skin isn't one problem — it's two opposite problems that look deceptively similar. Most users are stuck at one extreme or the other.


The Target Zone
Face enhancer at 65–80% blend. The restorer adds realistic texture while the original face data bleeds through to maintain natural variation. Skin looks real because it IS partially real.
Key Takeaway
The face enhancer is not a quality slider that you crank to max. It's a blend between the AI-reconstructed face and the original face data. The magic happens at 65–80%, where you get the restorer's texture without losing the natural imperfections that make faces look real.
The Fix
Optimal FaceFusion Settings for Photorealistic Output
These settings are distilled from hundreds of community tests, InsightFace benchmarks, and our own A/B comparisons. Copy them directly into your FaceFusion configuration.
The #1 Mistake
Never run face enhancer at 100% blend. This is the single most common cause of 'fake-looking' results. At 100%, the enhancer overwrites all original face data with AI-hallucinated texture. Drop to 65–80% and you'll see an immediate improvement.
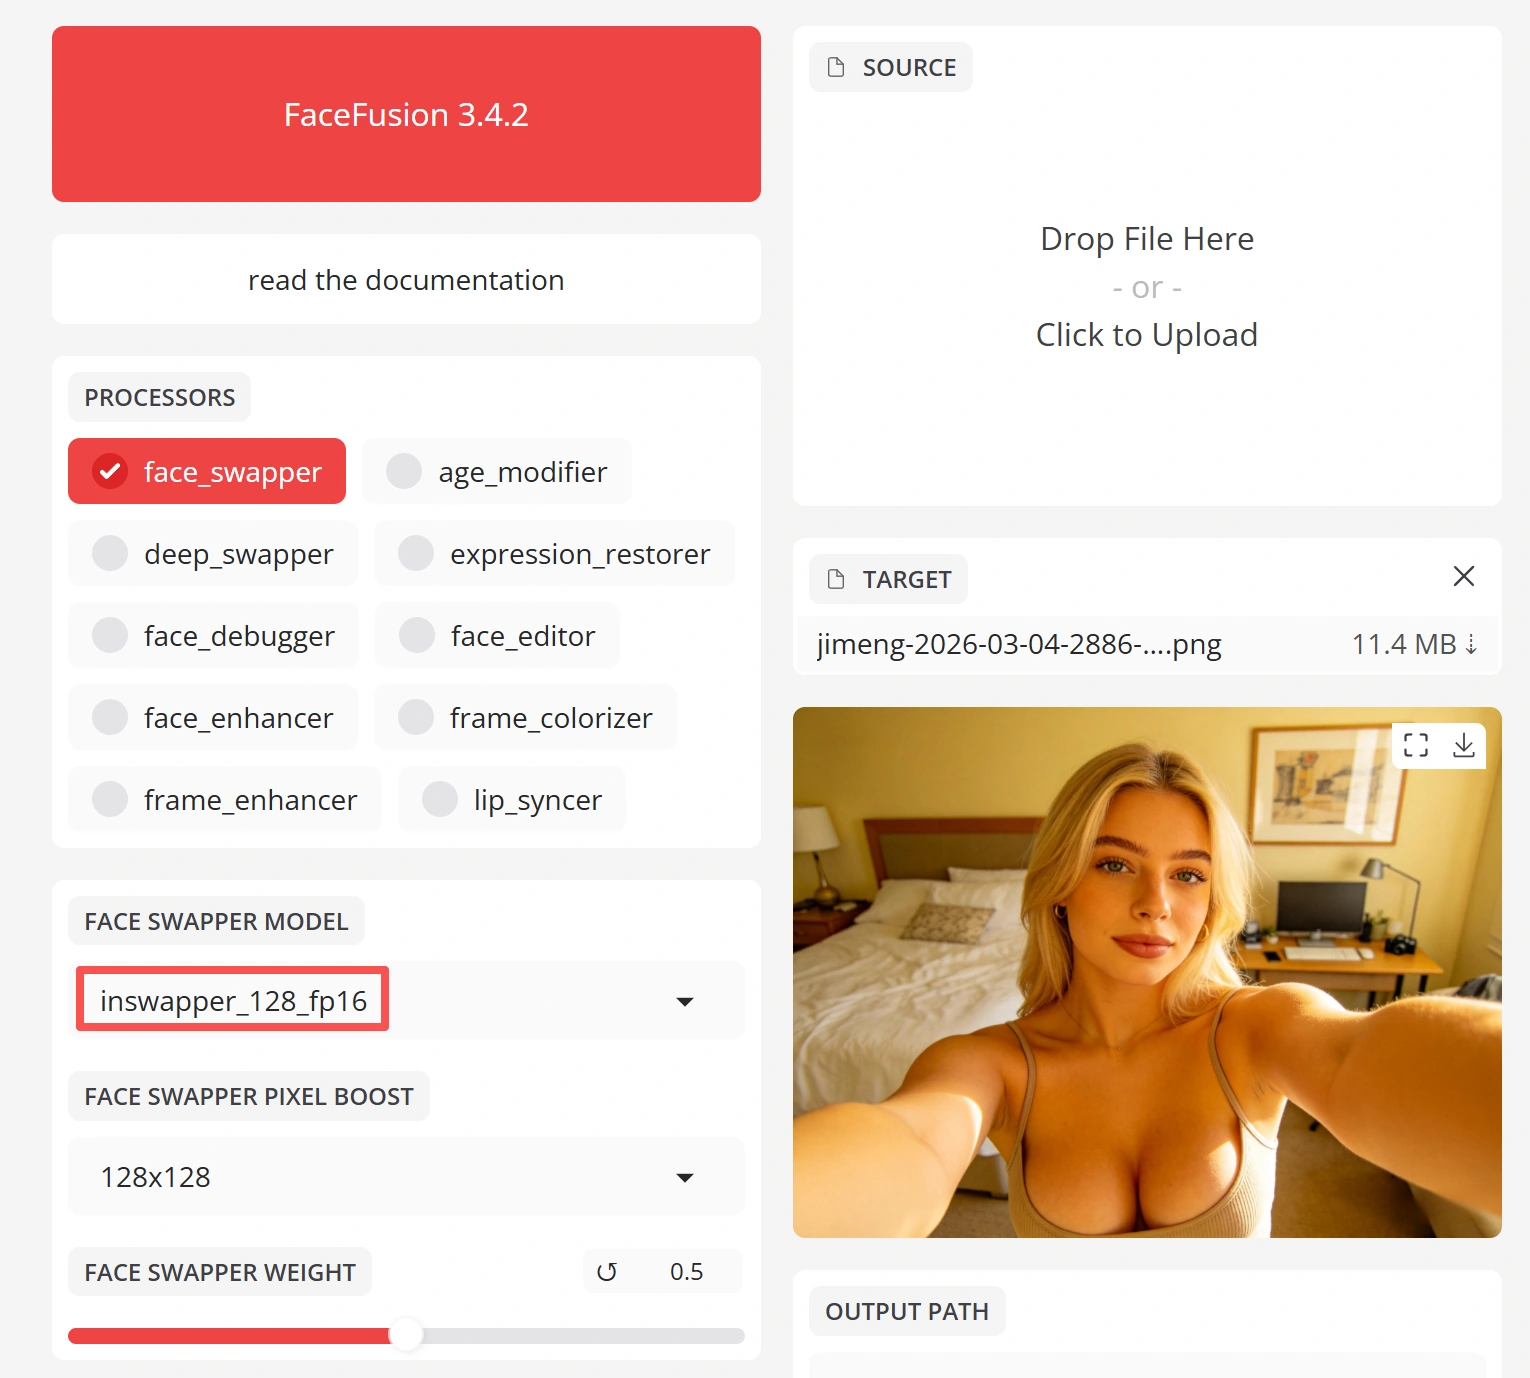
Recommended Settings for Image Face Swap
inswapper_128_fp16 (or HyperSwap_256 on 3.x)
fp16 uses half the VRAM with negligible quality loss. HyperSwap is preferred if available.
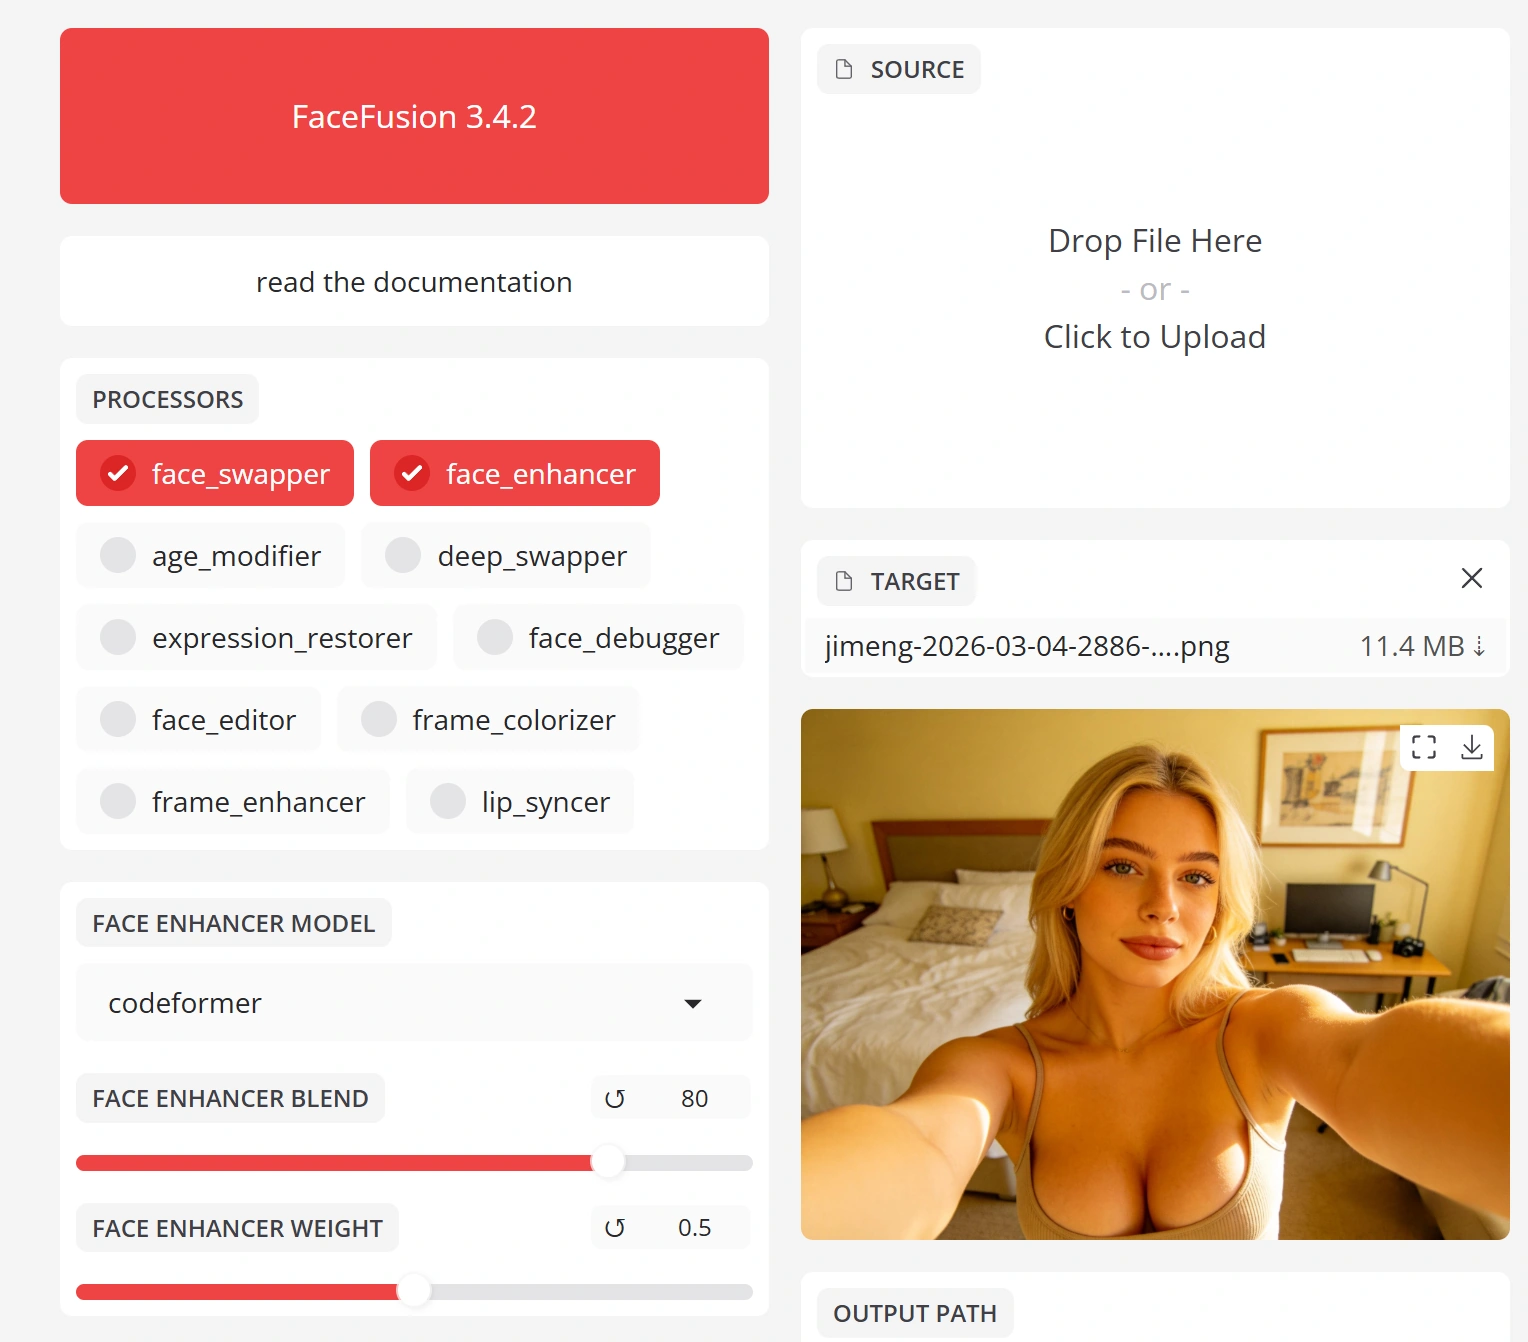
CodeFormer (preferred) or GFPGAN 1.4
CodeFormer preserves more identity fidelity. GFPGAN produces sharper but slightly more 'enhanced' results.
70–80%
Start at 75%. If the result looks too synthetic, drop to 65%. If it looks too soft, nudge up to 80%. Never exceed 85%.
RetinaFace
More accurate face alignment than YOLO. Slower but produces better landmark mapping for the swap.
512 or 768
Going beyond 768 has quadratic processing cost with diminishing quality returns. 512 is the sweet spot for most use cases.
0.5 (default)
Lower if faces aren't being detected in difficult angles. Don't go below 0.3 or you'll get false positives.
Settings Impact: Default vs Optimized
| Setting | Default | Optimized | Visual Impact |
|---|---|---|---|
| Face Enhancer | None | GFPGAN 1.4 / CodeFormer | Massive — eliminates waxy/sticker look entirely |
| Blend Ratio | 100% | 70–80% | Critical — removes CGI/synthetic appearance |
| Pixel Boost | Off (128→target) | 512 or 768 | Significant — adds face detail before paste |
| Face Detector | YOLO | RetinaFace | Moderate — better landmark alignment |
| Face Mask Blur | 0 | 0.3 | Subtle — hides paste boundary artifacts |
Model Deep-Dive
Face Swap & Enhancer Model Matrix
Not all models are equal. This matrix covers every swap model and face enhancer available in FaceFusion's ecosystem, with real-world quality and performance data.
Face Swap Models
| Model | Res. | Quality | Speed | VRAM | Notes |
|---|---|---|---|---|---|
| inswapper_128 | 128px | ★★☆☆☆ | Fast | ~2 GB | Original model. Baseline quality. Widest compatibility. |
| inswapper_128_fp16 | 128px | ★★☆☆☆ | Fast | ~1 GB | Half-precision variant. Same quality, half the VRAM. Preferred over base. |
| ReSwapper 256 | 256px | ★★★☆☆ | Medium | ~3 GB | Open-source reproduction at 2× resolution. MIT license. Measurable quality improvement. |
| HyperSwap 256Recommended | 256px | ★★★★☆ | Medium | ~3 GB | FaceFusion 3.x default. Best open-source quality currently available. |
| inswapper_512_live | 512px | ★★★★★ | Slow | N/A | Commercial model. Locked behind Picsi.ai. Gold standard for quality. |
Face Enhancer Models
| Model | Max Res. | Quality | Speed | Best For |
|---|---|---|---|---|
| GFPGAN 1.4 | 512px | ★★★★☆ | Fast | Video workflows. Most temporally stable. Community favorite. |
| CodeFormerRecommended | 512px | ★★★★★ | Medium | Image workflows. Best identity preservation. Handles occlusion well. |
| GPEN 256 | 256px | ★★★☆☆ | Fast | Low-VRAM systems. Lightweight but limited detail. |
| GPEN 512 | 512px | ★★★★☆ | Medium | Balanced option. Good detail without heavy VRAM cost. |
| GPEN 1024 | 1024px | ★★★★☆ | Slow | High-res photos. Excellent micro-detail reconstruction. |
| GPEN 2048 | 2048px | ★★★★★ | Very Slow | Print/production. Maximum detail but requires 8+ GB VRAM. |
| RestoreFormer++ | 512px | ★★★★☆ | Medium | Damaged/low-quality sources. Strongest restoration capability. |
For most users: HyperSwap 256 + CodeFormer at 75% blend for images, GFPGAN 1.4 at 70% blend for video.
Beyond Face Swap
Alternative Approaches to High-Quality Face Transfer
Traditional face swap (detect → swap → enhance) isn't the only game in town. These alternative methods can produce superior results for specific use cases — at the cost of more complexity.
Flux 2 Klein + BFS LoRA
Uses Flux's powerful image generation backbone with a face-swap LoRA for identity transfer. Produces the most photorealistic single-image results currently possible in open source.
Wan2.1 VACE
Video-native face transfer using Wan2.1's VACE (Video Aesthetic Control Engine). Generates entire video clips with identity transfer built into the generation process.
ACE++ (Style Reference)
Uses style-reference conditioning to generate images that match a target identity. Less precise than face swap but more natural-looking, as the identity is baked into the generation rather than pasted on.
Custom LoRA Training
Train a face-specific LoRA on 15–30 photos of the target identity. The model learns the face at a deep level, producing the most consistent and highest-quality results across any pose, lighting, or expression.
DeepFaceLab (DFL)
The original deepfake tool. Trains a custom model for each source/target pair over hours. Produces the highest-quality video face swaps when given enough training time and data.
Tool Showdown
FaceFusion vs the Competition
All these tools use the same underlying inswapper model, but their UI, features, and default configurations produce very different experiences. Here's how they actually stack up.
| Tool | Ease of Use | Max Quality | Speed | Active Dev | Models | Real-time | Platform |
|---|---|---|---|---|---|---|---|
| FaceFusion | ★★★★☆ | ★★★★☆ | ★★★★☆ | ★★★★★ | ★★★★★ | Yes (webcam) | Windows / Linux / macOS |
| Rope | ★★★★★ | ★★★☆☆ | ★★★★★ | ★★☆☆☆ | ★★☆☆☆ | Yes | Windows |
| VisoMaster | ★★★☆☆ | ★★★★☆ | ★★★☆☆ | ★★★★☆ | ★★★★☆ | No | Windows / Linux |
| DeepFaceLab | ★☆☆☆☆ | ★★★★★ | ★☆☆☆☆ | ★☆☆☆☆ | ★★★☆☆ | No | Windows |
| Reactor (SD extension) | ★★★☆☆ | ★★★☆☆ | ★★★☆☆ | ★★★☆☆ | ★★☆☆☆ | No | Cross-platform (A1111/Forge) |
Power Users
The Advanced Quality Pipeline
For users who want absolute maximum quality, here's the full multi-stage pipeline used by professionals. This can be run in FaceFusion's CLI or as a ComfyUI node workflow.
ComfyUI Node Pipeline — Recommended Workflow
RetinaFace · 1080p
inswapper_128 · ONNX
CodeFormer · 512px
face_enhancer_blend 70
1920×1080 · Final
RetinaFace · 1080p
inswapper_128 · ONNX
CodeFormer · 512px
face_enhancer_blend 70
1920×1080 · Final
The 5-Stage Pipeline
Face Detection & Alignment
Use RetinaFace with a detection score of 0.5. This gives the most accurate facial landmark mapping, which directly affects how well the swapped face aligns with the target's pose and expression. Poor alignment is the #2 cause of uncanny results after blend ratio.
--face-detector-model retinaface --face-detector-score 0.5Face Swap at Native Resolution
Run the face swap with Pixel Boost set to 512. This tells FaceFusion to upscale the 128px model output to 512px before pasting, which gives the face enhancer more detail to work with in the next stage.
--face-swapper-pixel-boost 512Face Enhancement with Controlled Blend
Apply CodeFormer (for images) or GFPGAN 1.4 (for video) at 70–75% blend. This is where the magic happens: the enhancer reconstructs realistic skin texture, pore patterns, and micro-details, while the 25–30% original face data prevents the result from looking synthetic.
--face-enhancer-model codeformer --face-enhancer-blend 75Color Correction & Mask Refinement
Apply face mask blur at 0.3–0.5 to feather the paste boundary. If there's a color mismatch between the swapped face and surrounding skin, use FaceFusion's color correction option or run a manual color grade pass.
--face-mask-blur 0.3Final Output & Quality Check
Export at your target resolution. For video, use the temp-frame-format PNG option for maximum quality (larger files but no compression artifacts). Always review the output at 100% zoom — artifacts that are invisible at overview can ruin close-ups.
--temp-frame-format png --output-video-quality 95Full CLI Command
ComfyUI Node Workflow
For ComfyUI users, the same pipeline can be built as a node graph: Load Image → FaceFusion Face Swap Node → CodeFormer Enhancement Node → Color Match Node → Save Image. The advantage of ComfyUI is that you can batch-process hundreds of images and fine-tune each stage independently. Popular node packs: ComfyUI-ReActor, ComfyUI-FaceRestore, ComfyUI-Impact-Pack.
FAQ
Frequently Asked Questions
The 'plastic skin' effect has two possible causes: (1) You're using the raw face swap output without a face enhancer — the 128×128 model can't produce realistic skin texture at higher resolutions. Fix: add GFPGAN 1.4 or CodeFormer as your face enhancer. (2) You're running the face enhancer at 100% blend — this overwrites all natural face variation with AI-hallucinated texture. Fix: reduce blend to 65–80%.
inswapper_128 is the face swap model created by InsightFace (the same team behind ArcFace). It was trained on 128×128 images because that was the practical resolution limit when the model was developed — higher resolution models require exponentially more training data and compute. InsightFace has a 512px commercial model (inswapper_512_live) but it's locked behind their Picsi.ai app.
The rubber face effect is usually caused by over-enhancement. Reduce your face enhancer blend ratio from 100% to 70–75%. If you're stacking multiple enhancers, remove all but one. Also check if you're applying sharpening filters after the face swap — these amplify the synthetic look.
For images: CodeFormer. It preserves more of the original identity and handles partially occluded faces better. For video: GFPGAN 1.4. It produces more temporally stable results with less frame-to-frame flickering. Both should be used at 65–80% blend, never 100%.
Start at 75% and adjust from there. If the result looks too synthetic/CGI, drop to 65%. If it looks too soft/waxy, nudge up to 80%. The optimal value depends on your source image quality and the specific enhancer model. Never exceed 85% — beyond that you lose the natural texture bleed-through that makes faces look real.
Yes, significantly. Pixel Boost upscales the 128px model output before pasting it onto the target frame. At 512, you get 4× the face detail. At 768, 6×. However, there's a quadratic cost increase: 768 takes roughly 2.3× longer than 512, and 1024 takes 4×. For most use cases, 512 is the sweet spot between quality and speed.
Video face swap has an additional challenge: temporal consistency. The face swap is applied independently to each frame, so slight variations in face detection, enhancement, and blending create visible flickering. Fixes: use GFPGAN (more temporally stable than CodeFormer), reduce blend ratio by 5% versus your image setting, and use RetinaFace for more consistent face detection across frames.
InsightFace's inswapper_512_live exists but is commercially locked behind their Picsi.ai app. You can't download or use it in FaceFusion. Open-source alternatives at higher resolution include ReSwapper (256px, MIT license) and FaceFusion's HyperSwap (256px, default in 3.x). These don't reach 512px quality but are a significant improvement over the 128px baseline.
ReSwapper is an open-source reproduction of the inswapper architecture trained at 256×256 resolution (2× the original). Created by researcher somanchiu on GitHub, it's available under MIT license. It produces measurably better output than inswapper_128 but requires more VRAM (~3 GB vs ~2 GB). If your hardware supports it, yes — it's a free quality upgrade.
Three strategies: (1) Use the fp16 model variant (inswapper_128_fp16) — same quality, half the VRAM. (2) Reduce Pixel Boost from 768 to 512 — minimal quality loss, significant VRAM savings. (3) Reduce execution threads to 1 — slower but uses the minimum amount of VRAM. Also ensure you're not running other GPU-intensive applications simultaneously.
The inswapper model struggles with extreme poses (profile views, looking up/down) because it was primarily trained on near-frontal faces. The identity embedding doesn't perfectly reconstruct features at oblique angles. Fixes: use a high-quality frontal source photo, enable face detection for all angles, and consider using multiple source photos at different angles if your tool supports it.
FaceFusion itself is open-source, but the inswapper_128 model has a non-commercial research license from InsightFace. For commercial work, you'd need to either license the model from InsightFace, use the commercially-licensed HyperSwap models in FaceFusion 3.x, or use alternative approaches like custom LoRA training that don't rely on inswapper.
All three use the same inswapper_128 model. FaceFusion has the most features, widest model support, and most active development (Gradio web UI). Rope is the simplest and fastest — click-and-go with real-time preview, but limited to Windows and fewer options. VisoMaster offers the most advanced face-editing controls (landmark adjustment, manual masking) and is gaining community traction, but has a steeper learning curve.
Color mismatch happens when the source face has different skin tone, lighting, or white balance than the target. FaceFusion has a built-in color correction option — enable it in the face swap settings. For manual fixes: adjust the face mask blur (0.3–0.5) to better blend the edges, and consider a light color grade in post-processing to match the face to the scene.
Minimum: NVIDIA GPU with 4 GB VRAM (GTX 1650 or equivalent) for basic face swap. Recommended: 8 GB VRAM (RTX 3060/3070) for face swap + enhancer + pixel boost. Ideal: 12+ GB VRAM (RTX 3080/4070 Ti or better) for maximum settings with video processing. AMD GPUs work via DirectML but are slower. Apple Silicon Macs work via CoreML with decent performance on M1 Pro and above.
Ready to Get Started
Start Creating Photorealistic Face Swaps
Apply everything you've learned in this guide. FaceFusion's web interface lets you configure all the settings we've covered — face enhancers, blend ratios, pixel boost, and model selection — without touching a command line.
Free tier available · No credit card required · All settings accessible